Creating your first game
Unlike other game engines, Protogame is not installed on your computer; instead it is a library that you download for each project. If you’ve ever used FlashPunk, you’ll be used to this way of working.
Install an IDE
It’s pretty safe to assume that you’ve already done this step, especially if you’ve been developing in C# before.
You will need either Visual Studio, Xamarin Studio or MonoDevelop. You can also use command-line build tools such as msbuild or xbuild if you wish.
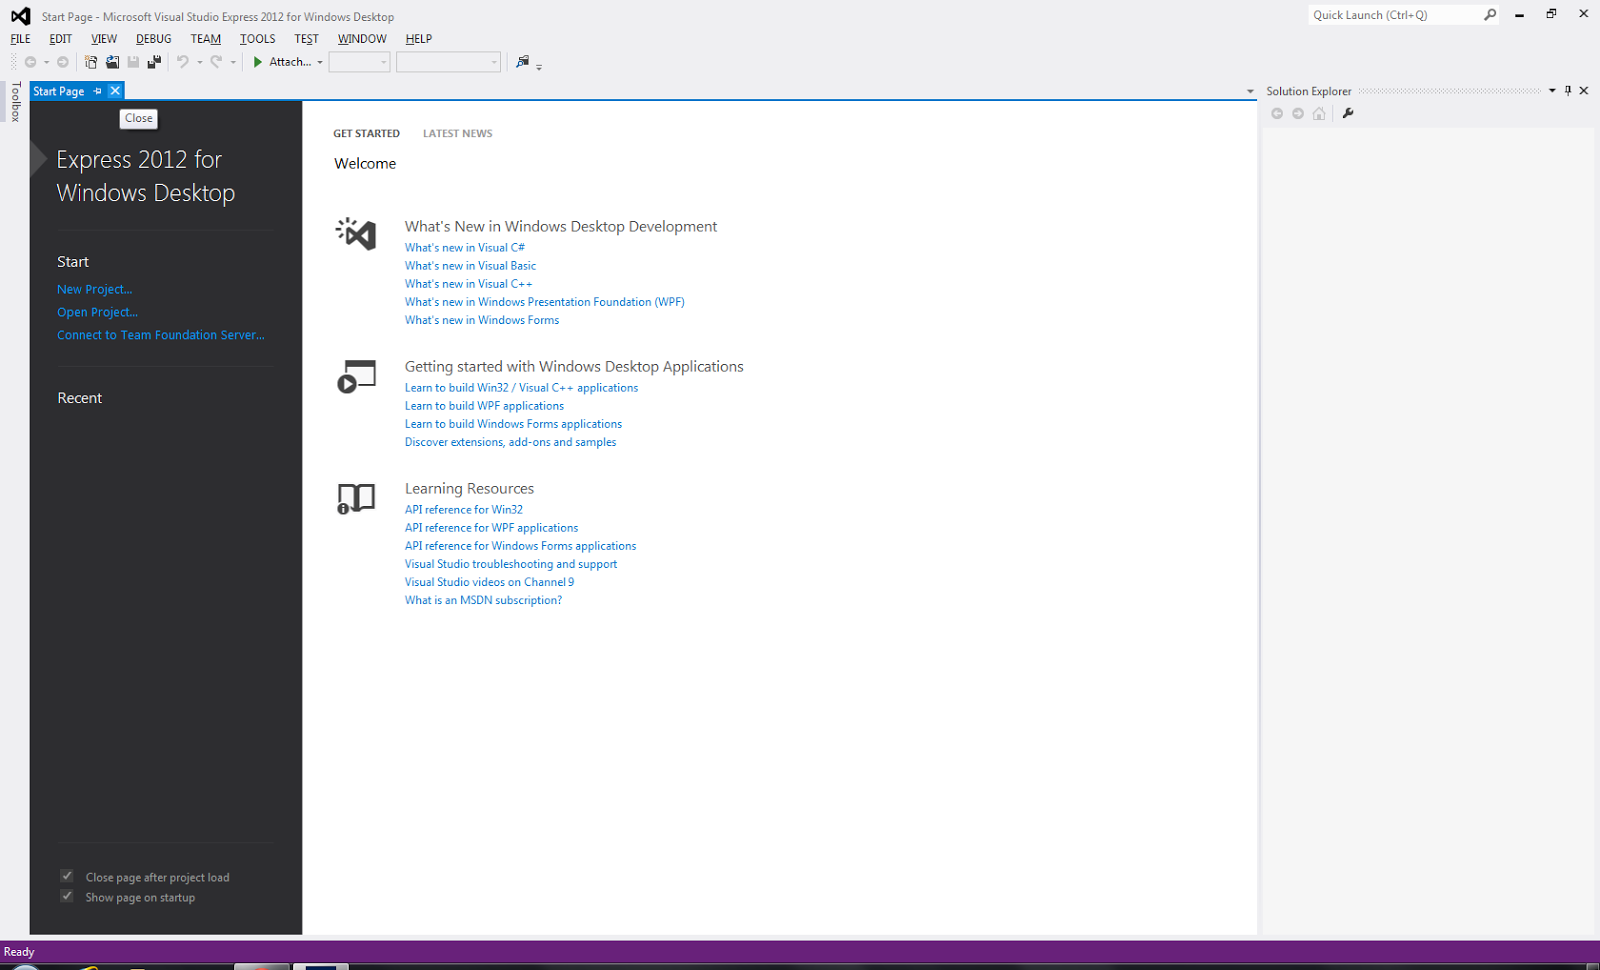
Visual Studio Community
If you are developing on Windows, then Visual Studio Community is highly recommended. You can download Visual Studio Community from the Visual Studio website.
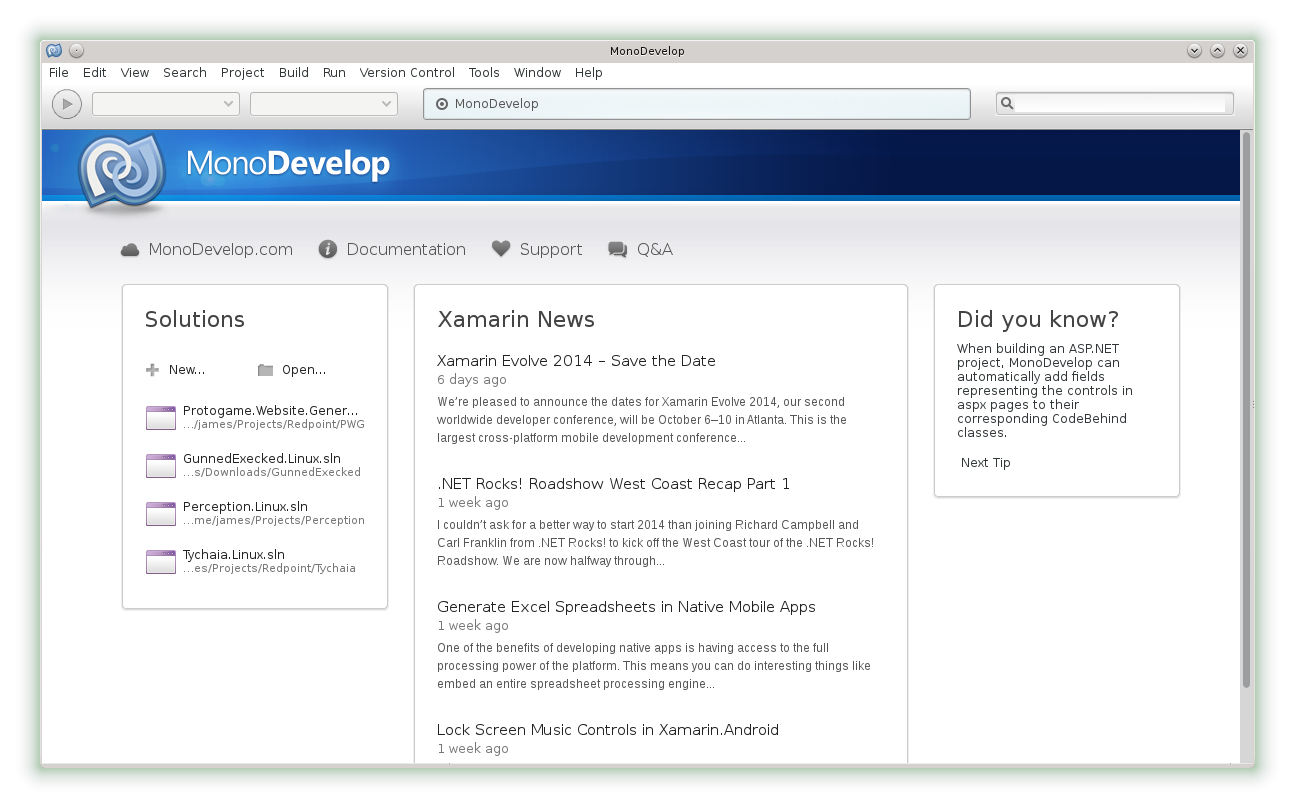
Xamarin Studio / MonoDevelop
If you are developing on Mac OS X or Linux, or you want to target mobile platforms through Xamarin, you’ll need to use Xamarin Studio or MonoDevelop.
Xamarin Studio for Windows or Mac OS X can be downloaded from the Xamarin download site.
MonoDevelop for Linux can be downloaded through the package manager for your Linux distribution.
Install Protobuild
Protobuild is a cross-platform project manager for .NET. It makes developing cross-platform games in C# easy, by taking care of all of the platform-specific dependencies you need.
To install Protobuild, go the Protobuild website and install it for the operating system you want to develop on.
After you have installed Protobuild, run the Protobuild Manager from your Start Menu (on Windows), Spotlight (on Mac) or KDE/GNOME menu (on Linux).
Create your project
Once you have the Protobuild Manager open, you should see the following start screen:
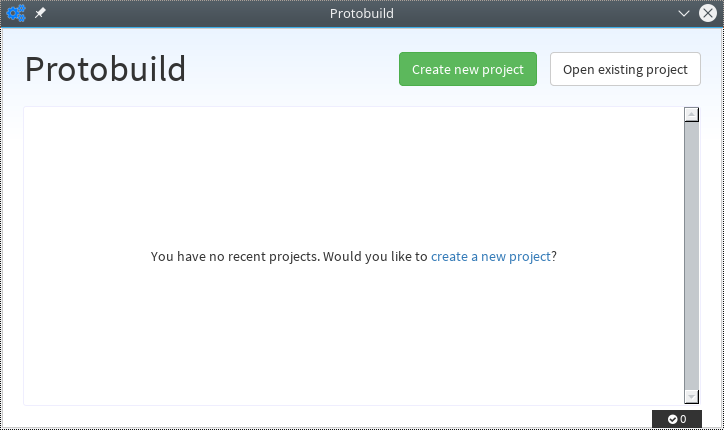
From here, click on “Create New Project” and select the Empty Project template:
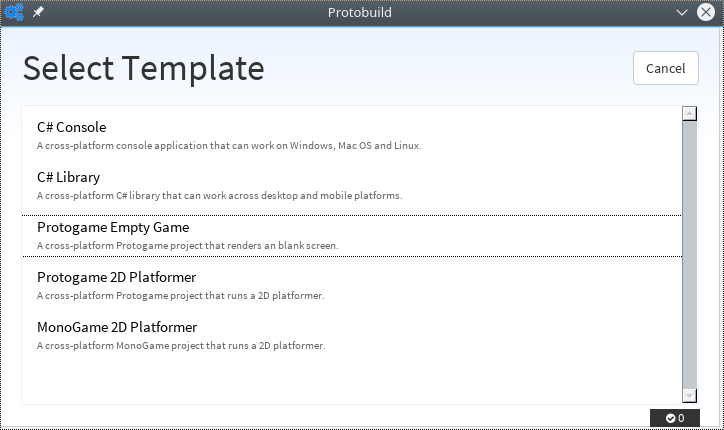
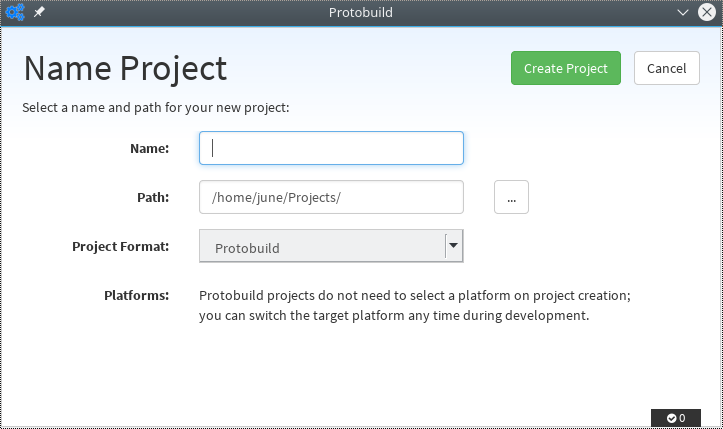
Give your project a name, and click “Create Project”. Leave the project type as “Protobuild”.
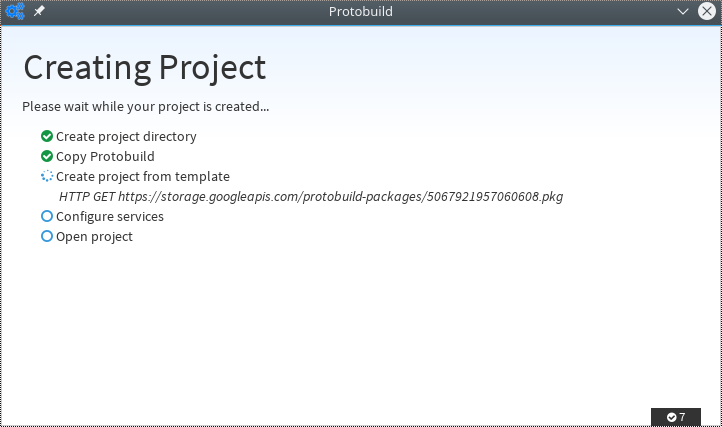
This will take a while Protogame is downloaded and all of the dependencies are fetched:

Once this finishes, either Visual Studio, Xamarin Studio or MonoDevelop will be automatically launched to open your project.
Note
In future you should open your project through the Protobuild Manager rather than your IDE. This will ensure that the cross-platform information about your project is saved correctly.
Running the game
Once you have opened the solution file with your IDE, you can build and run the game.
Starting the debugger
Under Visual Studio, you can run the game with the “Debug” button on the toolbar:

Under Xamarin Studio or MonoDevelop, you can run the game with the large “Play” icon:

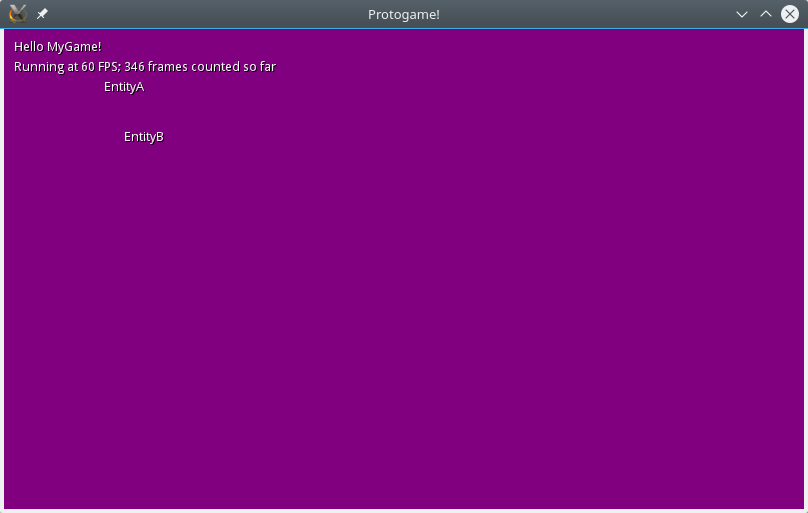
Verifying everything works
If you have downloaded the blank template, you should now see something similar to the following window when running the game:
Next steps
We recommend continuing onto the next walkthough, Rendering textures.