Rendering textures
Warning
For this walkthrough, we are assuming you are starting from the blank template. If you haven’t downloaded the blank template, please see Creating your first game first.
The blank template starts you off with a very basic structure; just enough to run a game on your development platform.
One of the most essential components of a game is the ability to render graphics to the screen. Although the blank template demonstrates rendering text (using the built in font), it does not cover how to render a texture.
This tutorial will cover both importing a texture into the content directory, and then rendering this texture as part of the world’s “RenderAbove” logic.
For this tutorial, we’ll be using the following image:

Right-click on the image above and save the image to your local computer.
This image is licensed CC0 / Public Domain from OpenGameArt. It was sourced from http://opengameart.org/content/stg-object-image.
Importing a texture
Protogame uses content projects to reference and compile various different types of assets, such as textures, audio, models and shaders.
The blank template will give you a project layout like the following:
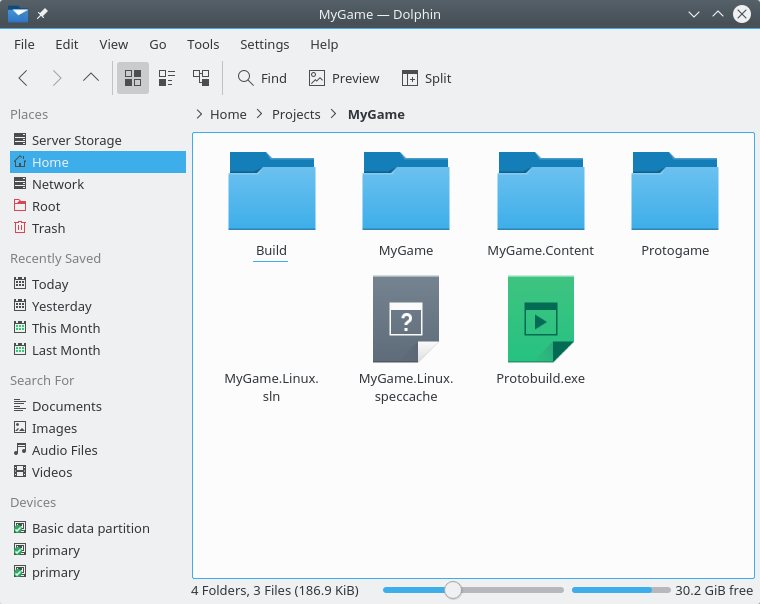
In this structure, the MyProject folder is where your code is being stored;
for example the MyProjectWorld.cs file is located in here.
We need to add the texture file to the content project, which is stored
as the MyProject.Content project.
Warning
Protogame content projects do not work in the same way as XNA content projects. There is no explicit “content project file” with the .contentproj extension, as these types of projects do not work on any platform other Windows / XNA.
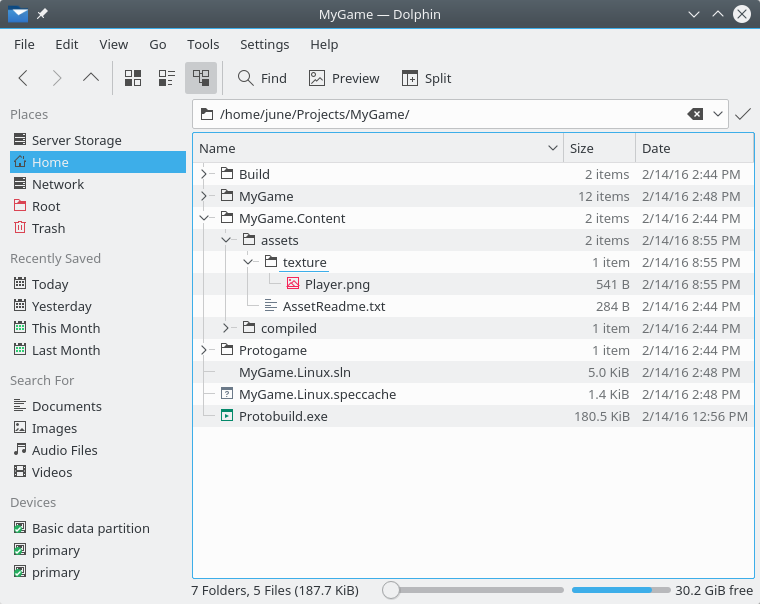
To import the texture, it is a simple case of placing the PNG file within the
content project folder. It is general convention to organise assets by their
type; because are importing a texture, we create a texture folder and then
place our PNG file within it.
Once this is complete, you should end up with a structure like the following:
Due to the way content projects work in Protogame, you now need to resynchronise the projects with the Protobuild Manager. On this screen, press the “Re-sync Now” button:

Danger
You must resynchronise cross-platform projects at this point. If you do not, the texture will not be copied to the output folder upon build, and you will not be able to load it.
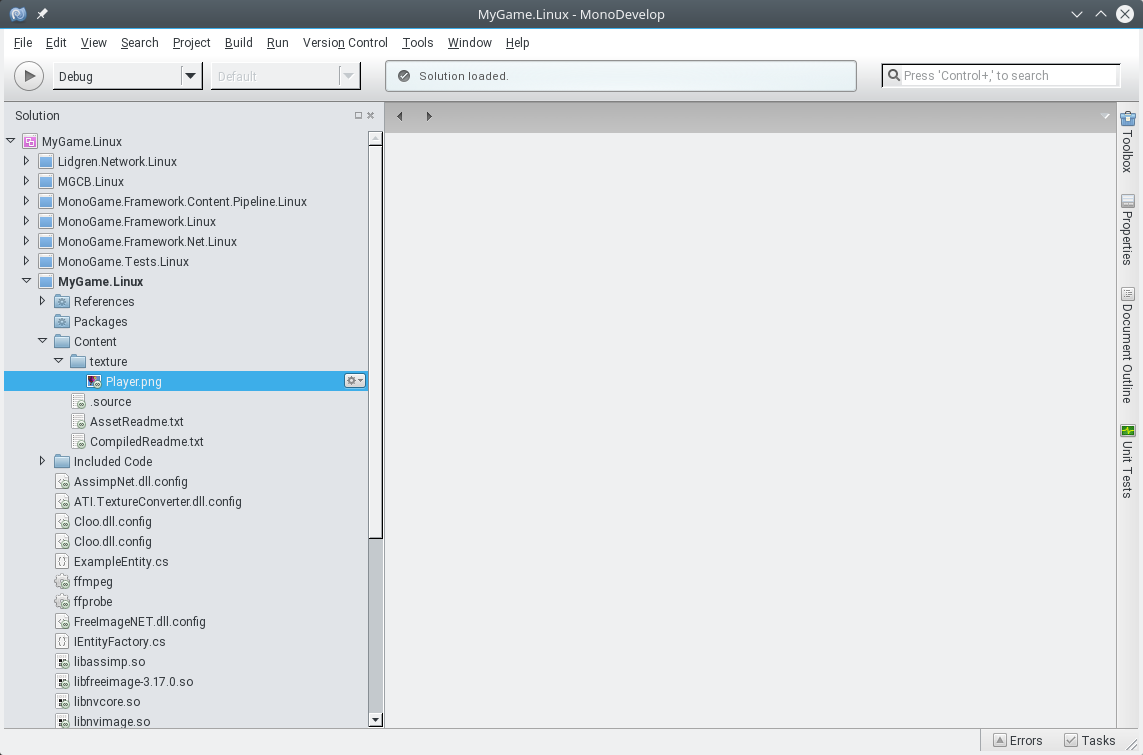
After running Protobuild, the project should now show the texture within the MyGame project:
Rendering a texture: Summary
Now that we have imported our texture, we need to call the appropriate Protogame APIs to render the texture.
Since we have not yet covered adding entities to the game, we will be adding the render call to the world’s render logic.
To be able to render textures in a game, we need to have four steps completed:
- Inject the
I2DRenderUtilitiesinterface. This provides the API to render the texture.- Inject the
IAssetManagerProviderinterface. From this we can gain access to the asset manager, and from there gain access to our texture asset.- Gain a reference to the texture asset within the world’s constructor.
- Call the
RenderTexturemethod againstI2DRenderUtilitieswithin the render loop.
Luckily for us, the blank template already injects both the I2DRenderUtilities
and IAssetManagerProvider interfaces, as it needs these interfaces to
perform text rendering.
However, we still need to gain a reference to the texture asset and store it for later usage within the render loop.
Referencing an asset
To reference an asset, we gain a reference to the asset manager and call the Get method. To gain access to our texture, add the following call to the world’s constructor:
_playerTexture = _assetManager.Get<TextureAsset>("texture.Player");
You will also need to add a field to the world implementation for storing a reference to the player texture:
private readonly TextureAsset _playerTexture;
Overall, the start of the world implementation should now look similar to this:
namespace MyGame
{
    using System.Collections.Generic;

    using Microsoft.Xna.Framework;

    using Protogame;

    public class MyGameWorld : IWorld
    {
        private readonly I2DRenderUtilities _renderUtilities;

        private readonly IAssetManager _assetManager;

        private readonly FontAsset _defaultFont;

        private readonly TextureAsset _playerTexture;

        public MyGameWorld(
            I2DRenderUtilities renderUtilities,
            IAssetManagerProvider assetManagerProvider,
            IEntityFactory entityFactory)
        {
            this.Entities = new List<IEntity>();

            _renderUtilities = renderUtilities;
            _assetManager = assetManagerProvider.GetAssetManager();
            _defaultFont = this._assetManager.Get<FontAsset>("font.Default");

            // You can also save the entity factory in a field and use it, e.g. in the Update
            // loop or anywhere else in your game.
            var entityA = entityFactory.CreateExampleEntity("EntityA");
            entityA.X = 100;
            entityA.Y = 50;
            var entityB = entityFactory.CreateExampleEntity("EntityB");
            entityB.X = 120;
            entityB.Y = 100;

            // Don't forget to add your entities to the world!
            this.Entities.Add(entityA);
            this.Entities.Add(entityB);

            // This pulls in the texture asset via the asset manager.  Note that
            // the folder seperator from "texture/Player" has been translated
            // into a single dot.
            _playerTexture = _assetManager.Get<TextureAsset>("texture.Player");
        }

        // ... more code ...
    }
}
Call the 2D Render Utilities API
Inside the render loop, we now need to call the API to render the texture. Add the following call to the end of the RenderBelow method:
_renderUtilities.RenderTexture(
    renderContext,
    new Vector2(100, 200),
    _playerTexture);
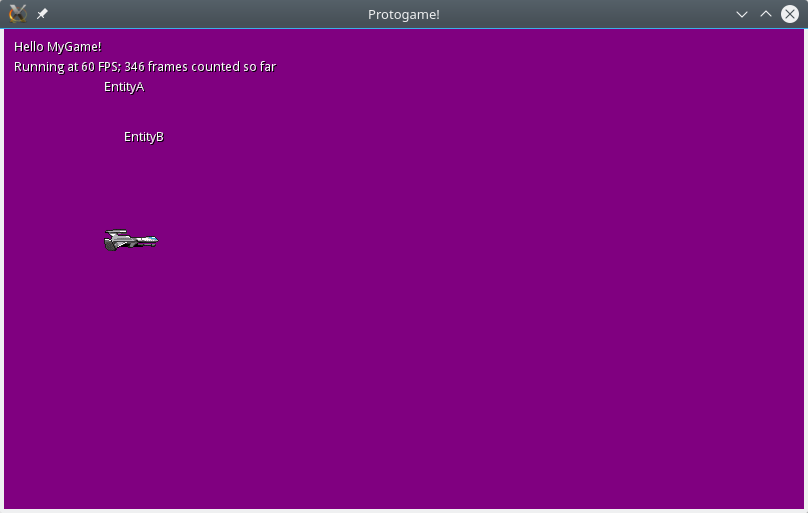
This should result in the RenderBelow method looking similar to the following code:
public void RenderBelow(IGameContext gameContext, IRenderContext renderContext)
{
    gameContext.Graphics.GraphicsDevice.Clear(Color.Purple);

    _renderUtilities.RenderText(
        renderContext,
        new Vector2(10, 10),
        "Hello MyGame!",
        this._defaultFont);

    _renderUtilities.RenderText(
        renderContext,
        new Vector2(10, 30),
        "Running at " + gameContext.FPS + " FPS; " + gameContext.FrameCount + " frames counted so far",
        this._defaultFont);

    _renderUtilities.RenderTexture(
        renderContext,
        new Vector2(100, 200),
        _playerTexture);
}
Next steps
We recommend continuing onto the next walkthough, Add a player.